Mastering the Art of Liquid Screed Installation for Perfectly Level Floors
- Jun 1
- 3 min read
Creating a smooth, level floor is essential for any building project, whether residential or commercial. Liquid screed has become the go-to solution for many builders, developers, and homeowners in Oxfordshire, Berkshire, and Wiltshire. Its ease of application and superior finish make it a smart choice for preparing floors before final coverings. This post explains the complete liquid screed installation process, highlighting key steps and practical tips to ensure excellent results.

What Is Liquid Screed?
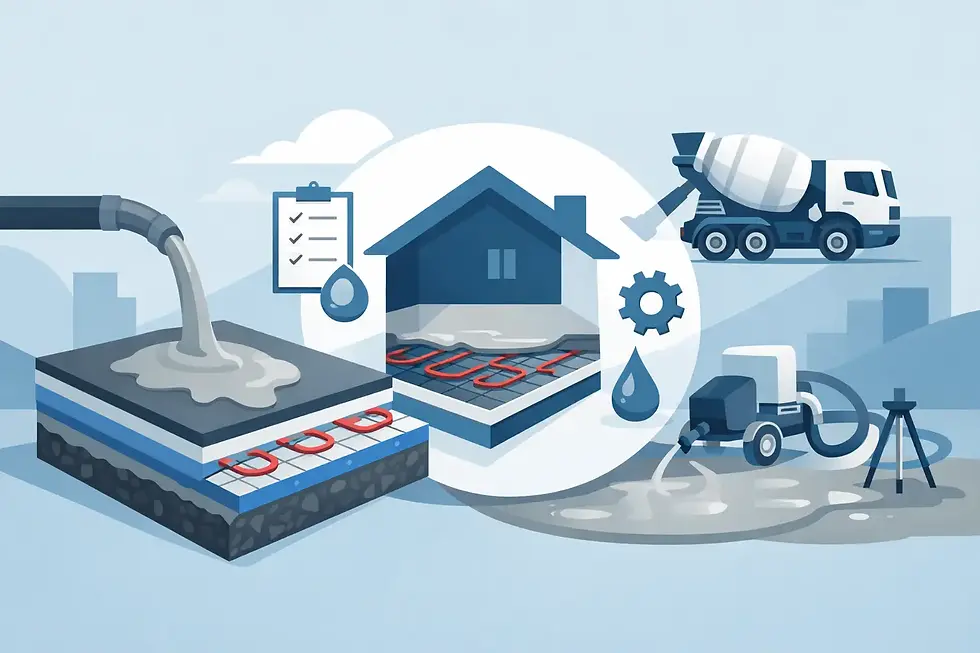
Liquid screed, also called flow screed, is a self-levelling floor substrate made from calcium sulphate (anhydrite) or cement-based materials. Unlike traditional sand and cement screeds, liquid screed is pumped into place, which speeds up installation and produces a smoother, more even surface. This makes it ideal for projects requiring precision and durability.
Builders and screeding contractors often prefer liquid floor screed in Oxford because it reduces labour time and provides a consistent finish. It also works well with underfloor heating systems, improving heat distribution by fully surrounding the heating pipes.
Step 1: Site Preparation
Proper site preparation is the foundation of a successful liquid screed installation. Before any screeding begins, the subfloor must be ready to support the new layer. Key tasks include:
Cleaning the surface thoroughly to remove dust, dirt, and debris
Installing insulation boards where needed to improve thermal efficiency
Applying edge strip insulation around walls to allow for expansion and prevent cracking
Laying a damp-proof membrane (DPM) to protect against moisture rising from below
Positioning underfloor heating pipes if the system is part of the project
This preparation ensures the screed adheres well and performs as expected over time. Skipping these steps can lead to uneven floors or long-term damage.
Step 2: Underfloor Heating Preparation
Many modern builds incorporate underfloor heating, which pairs perfectly with liquid screed. The heating pipes are fixed securely to the insulation boards and pressure tested to check for leaks before screeding starts.
The liquid screed flows around the pipes, eliminating air pockets that reduce heat transfer. This close contact improves the efficiency of the heating system and helps maintain an even temperature across the floor.
Screeding contractors experienced in underfloor heating preparation understand the importance of pipe layout and secure fixing to avoid movement during screed pouring.
Step 3: Pumping the Liquid Screed
Once the site is ready and heating pipes are in place, the liquid screed is delivered ready-mixed and pumped directly into the building using specialist equipment. This method offers several advantages:
Fast installation, often covering a typical domestic floor in a few hours
Reduced labour costs due to less manual mixing and spreading
Consistent mix quality, ensuring uniform strength and finish
Minimal waste, as the exact amount needed is pumped on site
Ability to cover large areas quickly and evenly
The screed naturally levels itself as it flows, creating a flat surface ready for drying.

Step 4: Levelling and Finishing
After pouring, the liquid screed settles and levels itself without the need for extensive manual smoothing. Screeding contractors monitor the surface to ensure it remains even and free from imperfections.
The screed must then dry and cure properly before any floor finishes are applied. Drying times vary depending on the screed type, thickness, and environmental conditions but typically range from 7 to 21 days. Proper ventilation and temperature control during this period help prevent cracking and ensure maximum strength.
Benefits of Choosing Liquid Floor Screed in Oxford
Using liquid floor screed in Oxford and surrounding areas offers several benefits:
Speed: Faster installation means projects stay on schedule.
Quality: A smooth, level surface improves the look and longevity of final floor finishes.
Compatibility: Works seamlessly with underfloor heating systems.
Durability: Strong and resistant to cracking when installed correctly.
Efficiency: Reduced labour and material waste lower overall costs.
For builders and developers, these advantages translate into satisfied clients and fewer call-backs.
Final Thoughts
Mastering the liquid screed installation process starts with thorough site preparation and careful underfloor heating preparation. Pumping the screed ensures a fast, consistent application, while proper curing guarantees a durable, level floor ready for any finish.


Comments